

In the era of GPS and Google Maps, the skill of using a traditional compass and map might seem obsolete. However, understanding how to navigate using these tools is an essential skill for any adventurer. Whether you’re embarking on a casual hike or preparing for a challenging wilderness expedition, a compass and map can be life-saving tools when technology fails or isn’t accessible. This guide will introduce the basics of using a compass and map, providing you with the foundational knowledge you need to confidently venture into the great outdoors.
Understanding Compass Basics
A compass is a navigational instrument that shows directions in a frame of reference that is stationary relative to the surface of the Earth. The frame of reference defines the four cardinal directions – north, south, east, and west. The most common type of compass used in navigation is the magnetic compass, which aligns itself with the Earth’s magnetic field. The main parts of a compass are the baseplate, the direction of the travel arrow, the magnetic needle, and the orienting arrow. The magnetic needle (usually the red part) always points to the magnetic north. To determine your desired direction, you align the orienting arrow with the magnetic needle. Remember, the key to successful navigation with a compass is to keep it flat and away from metal objects or electronics, as these can interfere with the needle’s magnetic field.
Reading a Map
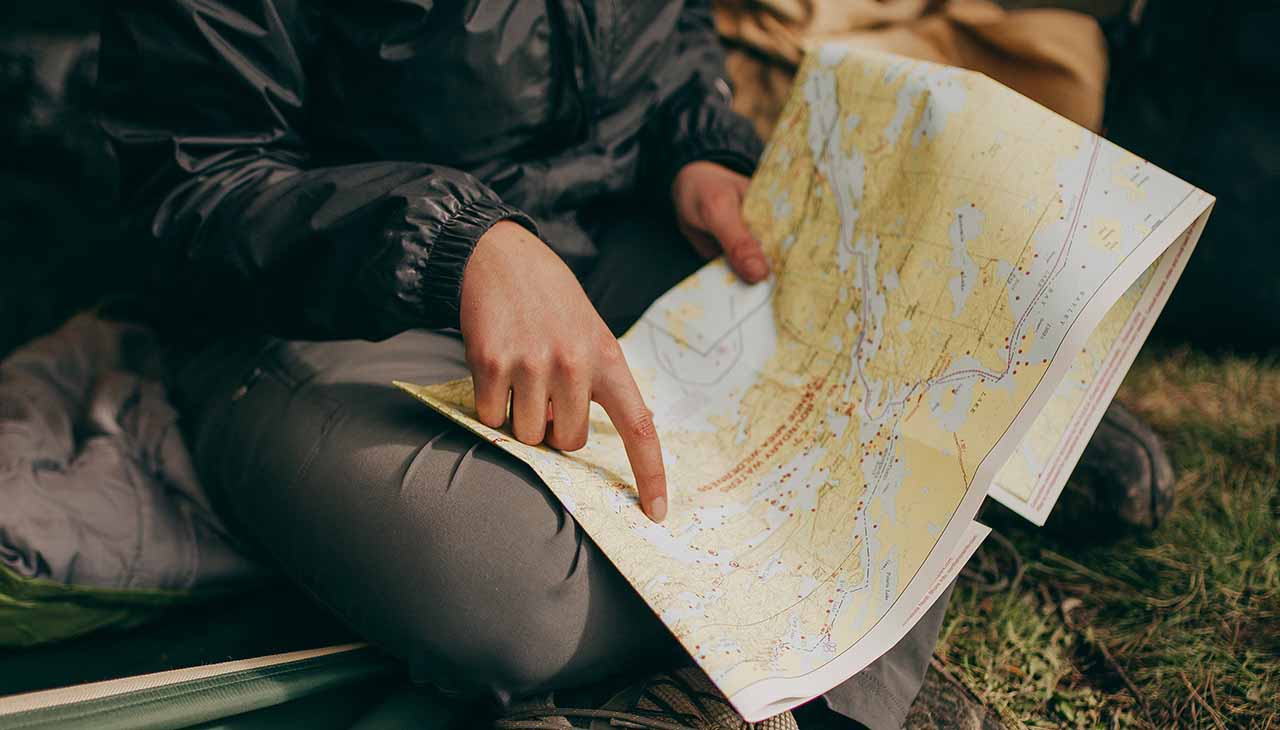
A map is a visual representation of an area that shows details such as geographical features, topography, and landmarks. The ability to read a map involves understanding various elements such as the scale, symbols, colors and contour lines.
The scale is essential as it indicates the relationship between a measurement on the map and the corresponding distance on the ground. For instance, a scale of 1:50,000 means that 1cm on the map corresponds to 500 meters on the ground.
Symbols represent different features or landmarks such as campsites, trails, or bodies of water. The map key, or legend, will provide a list of these symbols and their meanings.
Colors generally represent different types of land or water. For instance, green often signifies forested areas, blue signifies water, and white can represent open or barren land.
Contour lines, usually found on topographic maps, represent the shape and elevation of the terrain. Lines that are close together indicate a steep slope, whereas lines that are far apart indicate a more gradual slope.
By understanding these elements, you can use a map to plan your route, identify prominent landmarks, and understand the terrain you’ll be navigating. When used in conjunction with a compass, a map becomes an invaluable tool for navigation, particularly in areas where GPS signals may not be reliable.
Using a Compass
Using a compass properly involves a few key steps. First, hold the compass flat in your hand so the needle can turn freely. Second, turn yourself and the compass until the magnetic needle aligns with the orienting arrow. This indicates that the direction of the travel arrow on your compass is now pointing toward the geographic North.
Next, to find your desired direction, place your compass on the map with the edge of the baseplate on your current location. Rotate the compass housing until the lines in the compass housing line up with the north-south grid lines on your map.
Finally, turn the compass (and yourself) until the magnetic needle is aligned with the orienting arrow again. The direction of travel arrow will now be pointing in the direction you need to travel on the map. By following this direction, you should reach your desired destination. Remember that periodic checks and adjustments are needed to stay on course.
Keep in mind that compasses can be affected by local magnetic fields caused by high concentrations of metal or magnetic rock; this is known as magnetic declination. If you know the declination in your area, you can adjust your compass accordingly. Always remember to hold your compass flat, and to keep it away from metal objects and electronics as these can interfere with the needle. With practice, using a compass can become second nature and a reliable tool for outdoor navigation.
Navigating with a Compass and Map
Navigating with both a compass and map is a skill that combines the individual use of these tools and applies them in concert. Once a basic understanding of a compass and map has been grasped, the following steps can be used for navigation.
- Identify Your Location on the Map: The first step in navigating with a compass and map is to identify your current location on the map. Look for notable landmarks or topographical features that can help pinpoint where you are.
- Set Your Destination: Next, identify the destination you want to reach on the map. This could be a landmark, a campsite, or any other point on the map.
- Align the Map: Lay your compass flat on the map so that the edge of the compass’s baseplate forms a line from your current location to your desired destination. Ensure that the direction of the travel arrow on your compass is pointing towards your destination on the map.
- Rotate the Compass Housing: Rotate the compass housing until the orienting lines align with the north-south grid lines on the map. Make sure that the orienting arrow is pointing north on the map.
- Follow the Direction of the Travel Arrow: Take the map and compass in hand and turn yourself until the compass needle aligns with the orienting arrow. The direction of travel arrow on your compass now points towards your destination in the real world.
If you keep the needle aligned with the orienting arrow by turning your body and going in the direction of the travel arrow, you should reach your desired destination. Always remember to periodically check your direction against your map and compass to make sure you’re on the right path. With experience and practice, you’ll be able to navigate any terrain confidently with just a compass and a map.